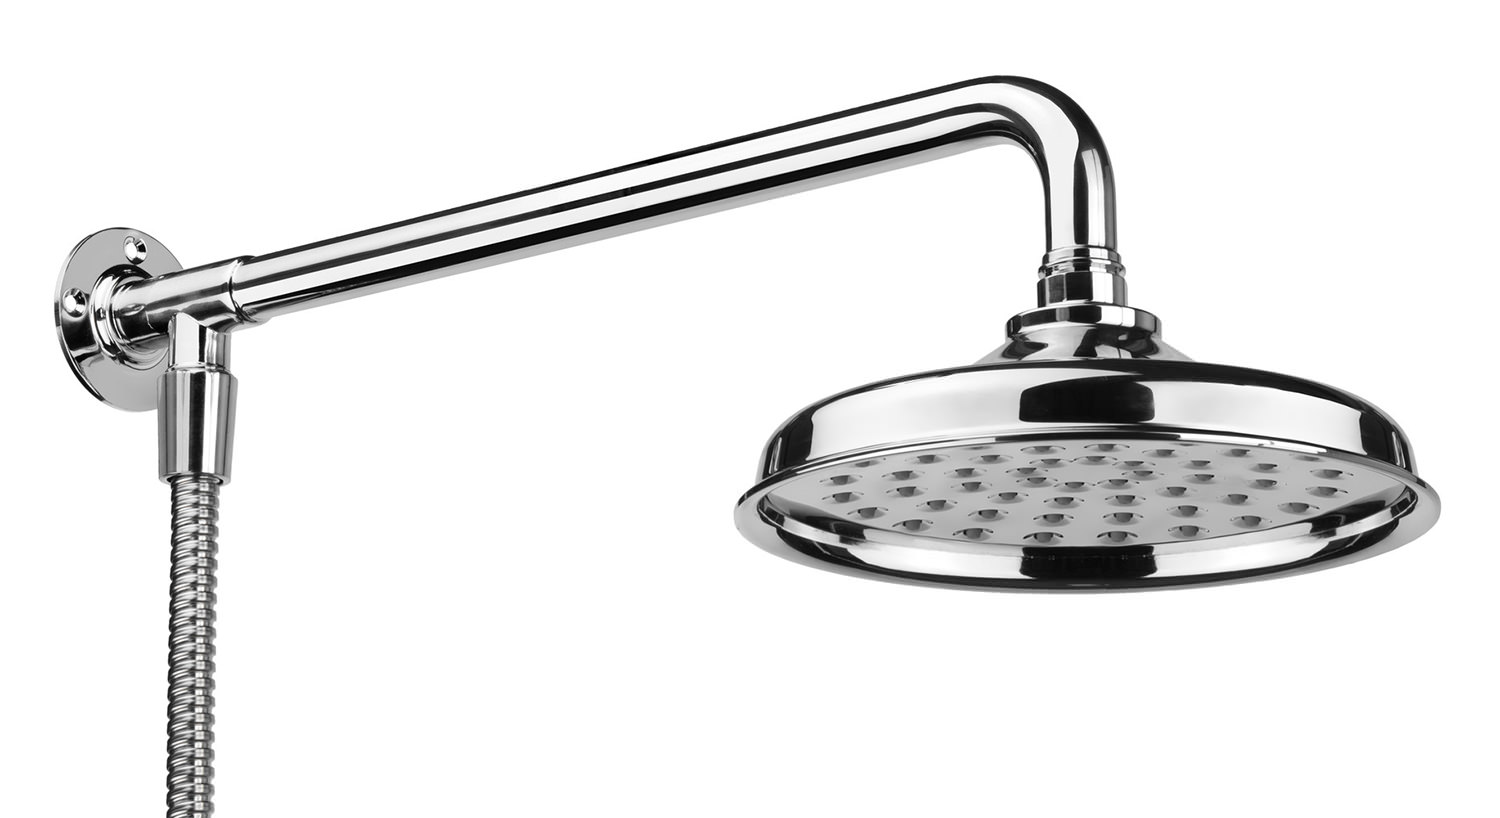
A well-functioning shower is among the best home improvement ideas that everyone looks forward to after a tiresome day. However, like any other technical equipment, a well fixed shower head can fail to function as required due to one issue or the other. For instance, a leaking shower will affect your comfort and lead to water wastage. Sometimes, the issue can be simple, and you can easily fix it at home instead of consulting a professional and spending more money repairing it. So, have you been speculating how you can fix your leaky shower? Read below.
A Step-by-step Guide to Fixing a leaking showerhead
Should you experience troubles with your shower head, use the following steps to rectify the issue.
Turn the water off
When repairing a leaking showerhead, you cannot start the process with water running. So, turn off the water from the main supply. However, make sure you have a hand towel to dry any water that might be left in the pipe after turning off the main switch.
Remove and Inspect
Now, you need to unscrew different parts of the showerhead. You can use pliers if some parts are tightly fixed. Inside the showerhead, check the small plastic water since it is the common cause of leaking showerheads when it ages. If it is damaged, ensure you replace it.
Note: You can drop and damage a part of the showerhead when holding it. Avoid this by placing a towel on the floor to prevent such damage. Again, avoid using extreme force when removing and fixing back some parts to avoid extra damage.
Clean the Showerhead
When you have your showerhead off and fully disintegrated, this is a perfect moment to clean it, especially if you have been experiencing low pressure. A decreased water flow can be a result of sediments or minerals left behind by hard water, hence affecting the pressure water and a leaky showerhead to some extent.
To wash the showerhead effectively, have a small pot filled with 3 cups of water and vinegar mixture on the fire to boil. Put the showerhead parts except for the rubber parts in the solution and leave for about 30 minutes.
After 30 minutes, remove from the solution, and rinse as you scrub until super clean.
Fix with a tape
After replacing or confirming the small plastic inside the showerhead is okay, fix the threads on the pipe stem and hold them with tape. Use the Teflon one. Avoid using too much tape as it can lead to other complications.
Re-fix the showerhead
After using the tape to fix the threads, tighten the screws on the showerhead back to their positions. Again, do it gently to avoid damaging the pipe or breaking the showerhead.
Turn the water back on
Now, you want to confirm if your showerhead is working appropriately. So, run the water for some seconds, then put the water off, and turn it on again after a few minutes to confirm any leakages.
Conclusion
When your showerhead has issues, don’t always consider getting an expert as the first thought. Sometimes, the issue is always easy, and you can fix it with ease.